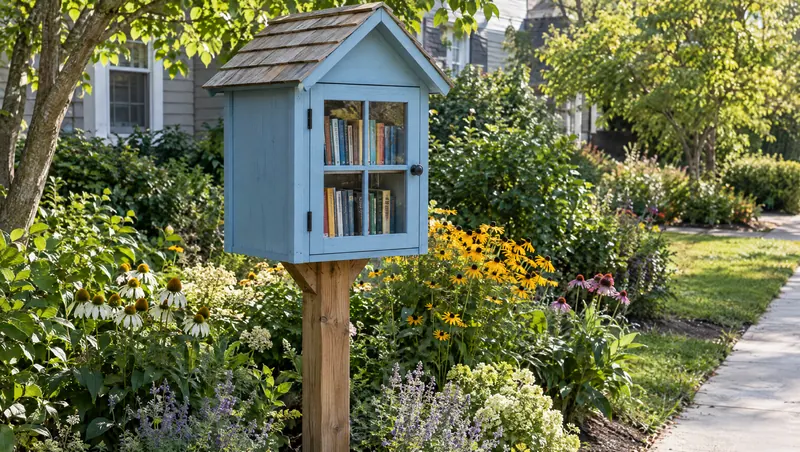
A weatherproof front-yard book box about 21 in wide and 2 ft tall, built from ¾ in exterior plywood with a glazed door and a gable roof, mounted on a 4x4 post at reading height. Optional: register it with an official Little Free Library charter sign ($49.95 one-time).
Time: a weekend (paint needs drying time) · Cost: approx. $100-$200 in materials, plus $49.95 if you charter · Difficulty: moderate
A DIY little free library is a box, a door and a roof. The craft is in keeping water out for years and setting the post so it doesn't lean. This guide follows the proportions of the free Kalamazoo plan that Little Free Library hosts, and adds the weatherproofing and install details that decide how long it lasts. Little Free Library is an independent 501(c)(3) nonprofit; we're not affiliated with it.
Little free library plans: dimensions and cut list
Plywood parts from the Kalamazoo plan (¾ in plywood):
| Part | Qty | Size |
|---|---|---|
| Base | 1 | 20¾ x 11¾ in |
| Back | 1 | 20¾ x 20 in |
| Sides | 2 | 12½ x 26¼ in, 45° cut at the top |
| Roof panels | 2 | 26 x 11½ in |
| Face frame and door | - | ¾ x 1½ in solid lumber, cut to fit the opening |
| Post | 1 | 4x4, about 5 ft |
The plan's drawings show how the angled sides and roof meet; download it before cutting and check each part against your own assembly as you go. A 4x8 sheet of plywood covers all of the panel parts with room to spare.
Materials and cost
| Item | Approx. cost |
|---|---|
| ¾ in exterior plywood (half or full sheet) | $35-$75 |
| Solid lumber for face frame and door (1x2) | $8-$15 |
| 4x4 post, 6 ft (cut to about 5 ft), plus scrap for a post topper | $12-$25 |
| Acrylic (plexiglass) sheet for the door window | $10-$20 |
| Self-closing hinges, knob, magnetic catch | $10-$20 |
| Exterior wood glue or construction adhesive, exterior screws, six 2½ in lag screws | $15-$25 |
| Roofing: cedar shingles, metal flashing or leftover asphalt shingles, plus ridge cap | $0-$30 |
| Exterior primer, paint, exterior caulk | $20-$40 |
| Optional: official charter sign | $49.95 |
Lumber and plywood prices vary widely by region, so treat these as rough ranges. Tools: circular saw or table saw, jigsaw, drill/driver, clamps, square, caulk gun, post-hole digger or spade, level.
How to build it
- Cut the panels Cut base, back, sides and roof panels. Make the 45° top cuts on the sides as the plan shows. Sand every edge.
- Seal the end grain first Plywood edges soak up water. Prime all edges now, before assembly, when you can reach them.
- Glue and screw the box Run a bead of exterior-rated wood glue or polyurethane construction adhesive on each joint, then screw the sides to the base and the back to the sides and base. Glue alone isn't enough for something that hangs outdoors; the screws hold, the glue seals and stiffens. Wipe squeeze-out before it cures.
- Add the roof Glue and screw the roof panels on so they overhang the front by at least an inch or two; that overhang is what keeps rain off the door. Cover with shingles or metal and cap the ridge.
- Build the face frame and door Make a frame from the ¾ x 1½ in lumber to fit the front opening, then a matching door frame. Rout or saw a groove (or use small trim strips) to hold the acrylic panel.
- Hang the door Use self-closing hinges so the door doesn't get left open in the rain, and a magnetic catch or simple turn button. A knob kids can reach matters more than a fancy latch. Don't lock it.
- Weatherproof Prime and paint every face with exterior paint, two coats. Caulk the seams at the roof and around the face frame. Drill two small drain holes in the floor in case water gets in.
- Add the post topper Screw a plywood or 2x platform to the top of the post, then fix the library to it from inside with six 2½ in lag screws, as Little Free Library's install guide does.
For an outdoor box, choose a glue labeled for exterior or waterproof use: polyurethane glues and exterior wood glues rated Type II or Type III are common choices. Polyurethane glue foams as it cures, so clamp joints and use it sparingly. Whatever the brand, pair it with screws.
Installing the post
- Get permission first Little Free Library has no design rules, but it notes city or HOA rules may apply. Ask before you dig, and keep the library off the public right-of-way unless your city allows it.
- Call 811 Free utility locating before any digging.
- Dig Little Free Library's guide: a hole 2 ft deep and 1 ft wide. A 5 ft post then stands about 3 ft above ground. Most stewards install 3-5 ft from the sidewalk.
- Set and tamp Stand the post, plumb it with a level, and backfill in layers, tamping firmly each time. The guide says concrete usually isn't necessary; in loose or sandy soil, a bag of gravel at the bottom and more tamping helps.
- Mount the library Lift the box onto the topper (two people) and drive the lag screws from inside.
How to register and charter it
Registering is optional, but it's the only way to use the name. According to littlefreelibrary.org:
- The name Little Free Library and its common variations are trademarked; to use it you need an official charter sign and charter number on your library.
- A charter sign is a one-time $49.95 purchase, one per library. Libraries bought from Little Free Library's own store come with a sign already.
- After buying the sign you set up a steward account and add your library to the world map; it isn't listed until you do. The network counts more than 200,000 libraries.
If you'd rather not charter, call it a book exchange or book box and build it exactly the same way.
Variations and upkeep
- Kids' shelf: a second, lower box or a bottom shelf at 2 ft for picture books.
- Seed library: a small drawer or jar for swapping seed packets in spring; it pairs well with a gardening shelf.
- Repurposed cabinet: an old kitchen wall cabinet with a glass door makes a fast shell. Add a proper roof and seal it well.
- Upkeep: check monthly for damp books, wasps and a sticking door; repaint the roof edges every couple of years.
The same glue-and-screw, prime-every-edge approach works for bigger yard builds, from a wooden sandbox with a lid to a DIY greenhouse or a greenhouse shed combination. More projects are on our garden projects page.
If you enjoyed this build, a greenhouse kit is the natural next weekend project. Our guide to DIY greenhouse kits covers kits a non-builder can assemble, and the roundup of the best greenhouse kits compares picks by size, budget and climate.
Frequently asked questions
How much does it cost to register a Little Free Library?
Little Free Library charges a one-time $49.95 for an official charter sign. Buying the sign registers your library and gives it a charter number; you then add it to the world map from your steward account.
Do I have to register my little free library?
No, but the name is trademarked: Little Free Library says only libraries with an official charter sign and charter number may use it. Unregistered boxes are usually called book exchanges or book boxes. Either way, check city and HOA rules first.
How deep should a little free library post be?
Little Free Library's install guide uses a 2 ft deep, 1 ft wide hole, so a 5 ft post stands about 3 ft above ground. Tamp the soil firmly; it says concrete is usually unnecessary. Call 811 before you dig.
What glue should I use for an outdoor little library?
An exterior-rated wood glue (labeled waterproof or Type II/III water-resistant) or a polyurethane construction adhesive, always backed up with exterior screws. Glue alone shouldn't hold a box that hangs on a post through every season.
What is the best wood for a little free library?
Exterior-grade plywood, like the ¾ in plywood used in the Kalamazoo plan Little Free Library hosts, or solid cedar. Prime and paint every face, including the edges, and give it a roof that overhangs the door.
How far from the sidewalk should it go?
Little Free Library says most stewards install 3-5 ft from the sidewalk. Keep it on your own property and clear of the public right-of-way unless your city allows otherwise.
Keep reading
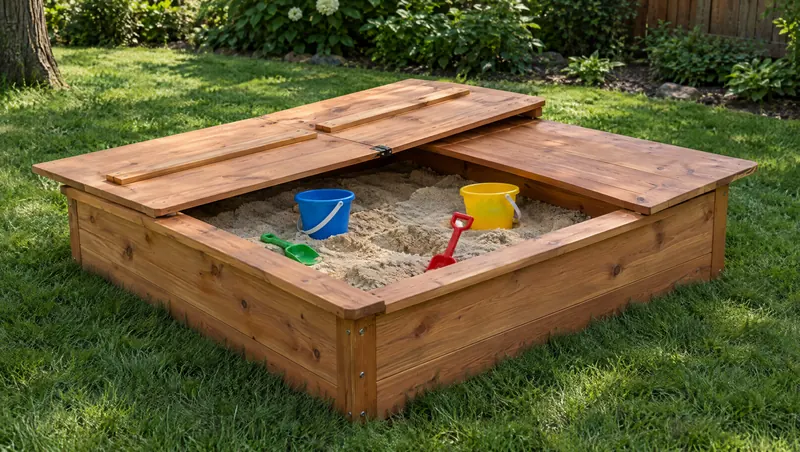 Garden projectDIY wooden sandbox with lidA 4x4 ft cedar sandbox with a two-piece lid: cut list, sand calculator, liner, drainage and safe play sand.
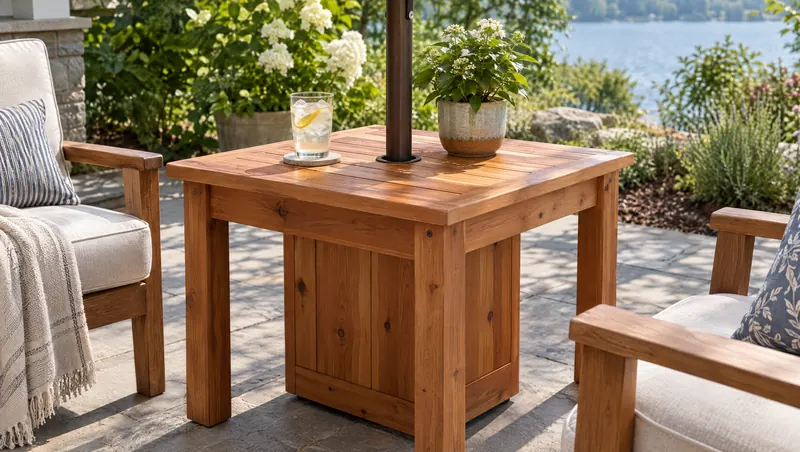 Garden projectUmbrella stand side tableA cedar side table that hides the umbrella base, with a lift-off split top and a flower planter version.
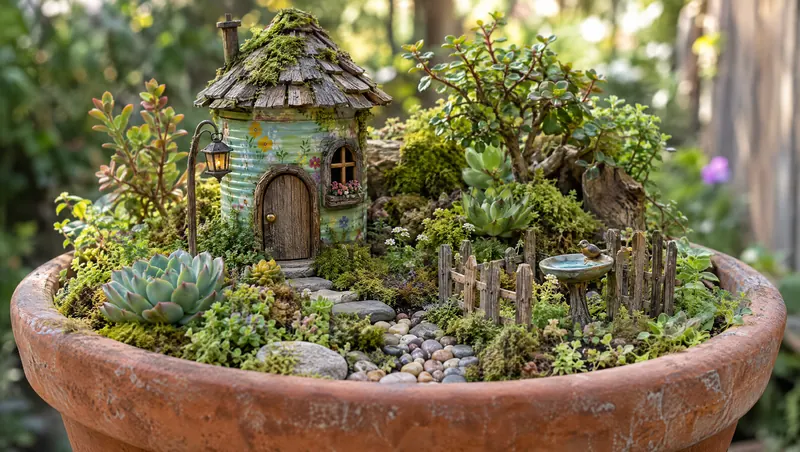 Garden projectTin can fairy garden houseTurn a food can into a fairy house, then plan a miniature garden around it with plants that stay small.
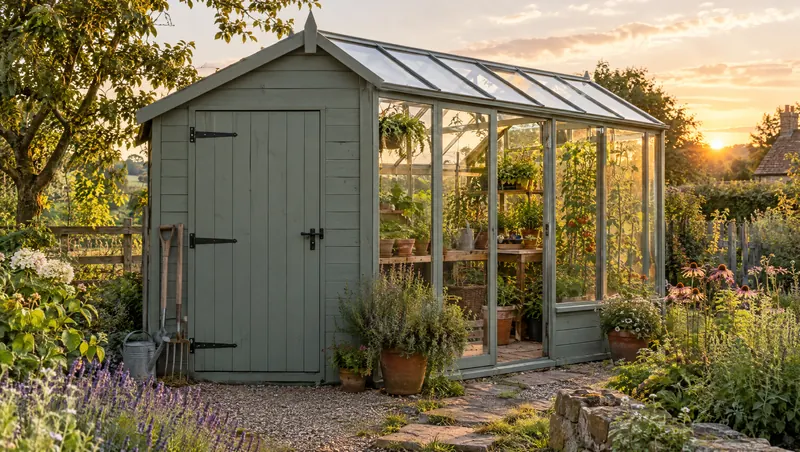 Kits by typeGreenhouse shed combosThe few real greenhouse-shed combo kits, shed-style greenhouses, and smart ways to pair or convert a shed instead.
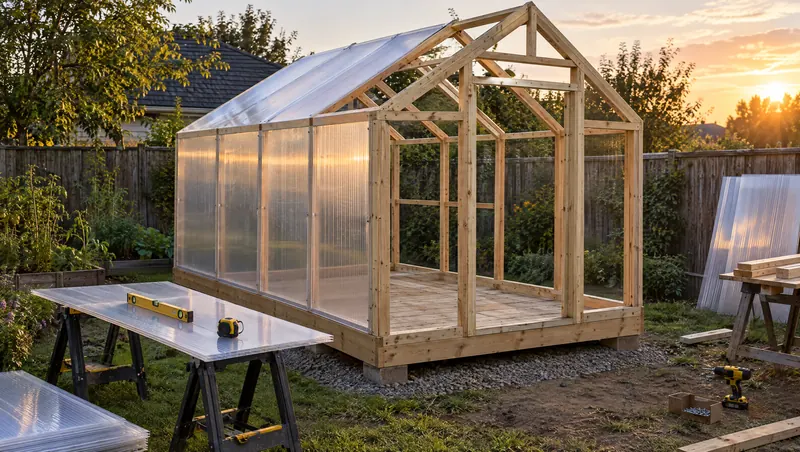 Build guideHow to build a DIY greenhouseFour ways to build a greenhouse yourself, a full 8x10 step-by-step, real material costs and when a kit is the better deal.