Rustic Halloween Pinecone Garland
Pinecones from a walk, twine and a few paper jack-o'-lantern tags. That's all this garland takes. It looks rustic on a mantel and holds up on a covered porch. After Halloween, take off the tags and leave the pinecones up through Thanksgiving.
- Time About 1 hour, plus baking
- Skill Easy
Before you start. Collect pinecones on a dry day and pick ones that are open and whole.
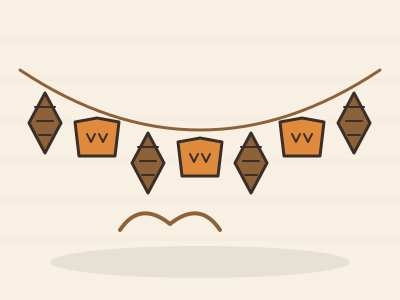
What you'll need
- 8 to 12 pinecones
- Jute twine
- Orange cardstock and a black marker
- Small screw eyes or thin craft wire
- A hole punch
- Scissors
- A foil-lined baking sheet
How to make it
- Clean the pinecones. Brush off dirt and loose bits. Bake them on a foil-lined sheet in a low oven, around 200°F, for 30 to 45 minutes to dry them out. Stay close and keep an eye on them, because dry pinecones burn easily.
- Add hangers. Twist a small screw eye into the base of each pinecone, or wrap thin wire under the bottom row of scales and twist a loop.
- Cut the tags. Cut simple pumpkin shapes about 3 inches wide from orange cardstock. Draw jack-o'-lantern faces with the marker and punch a hole at the top.
- String it. Cut twine about a foot longer than your mantel. Thread on a pinecone, then a tag, and repeat, spacing them about a hand's width apart.
- Hang it. Tie a loop at each end and hang the garland from small hooks, or tuck the ends behind candlesticks.
Make it your own
- Swap the jack-o'-lanterns for paper leaves in fall colors and keep it up until Thanksgiving.
- Add small bells between the pinecones for a little sound when the door opens.
- Paint a few pinecone tips orange and black for a more playful look.
Care and storage. Store the pinecones in a paper bag in a dry closet after the season. Keep the tags flat between two pieces of cardboard so they don't bend.